
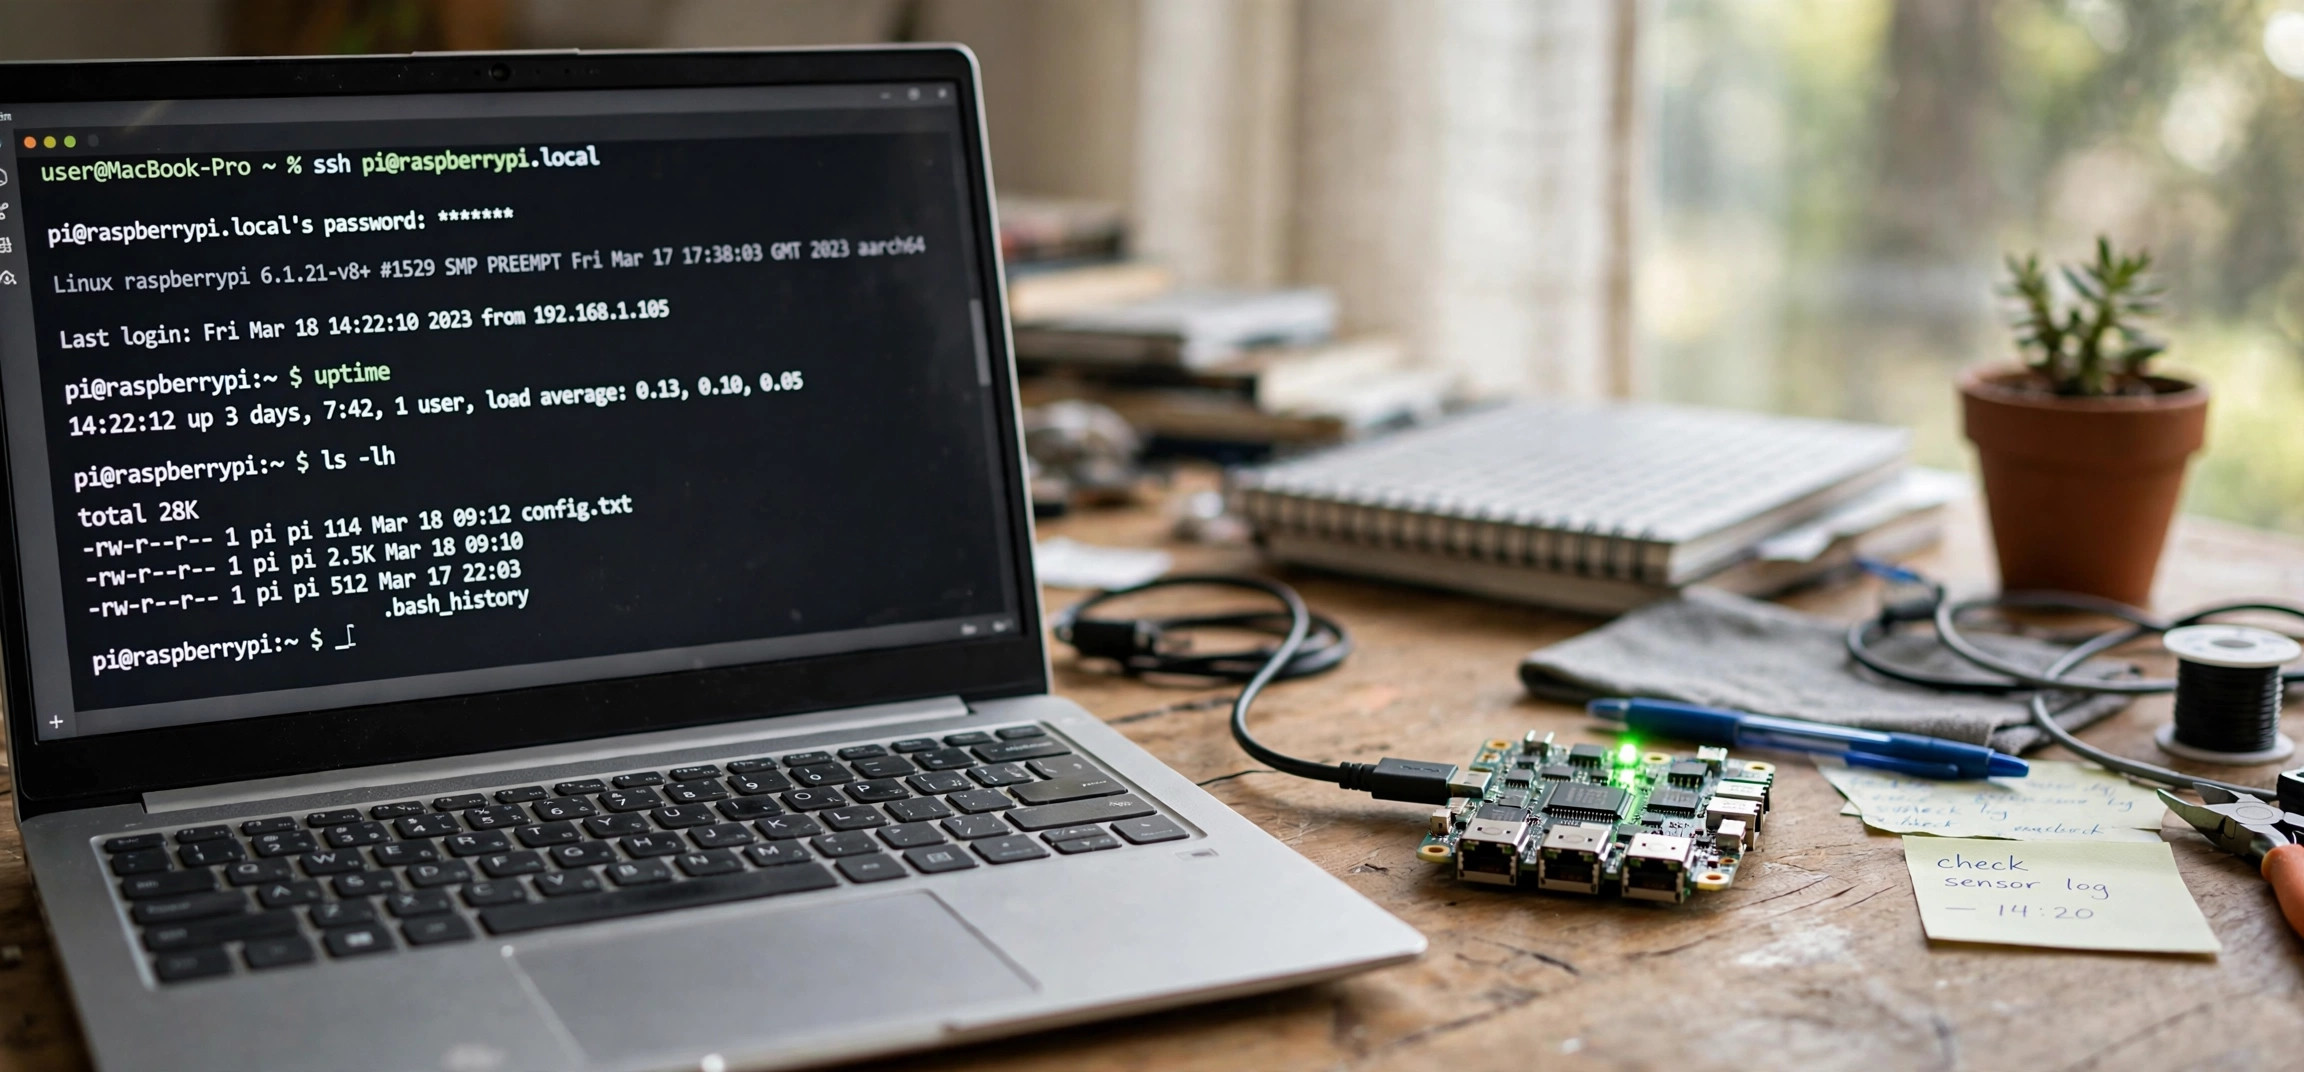
A Raspberry Pi headless setup lets you start a Pi project without ever plugging in a monitor, keyboard, or mouse. You flash the SD card, add two small configuration files, power the Pi on, and control everything from your laptop over Wi-Fi. It sounds like a pro move, but it is actually easier than the “plug in a monitor” route — and it is how most Pi projects run in the real world.
This beginner guide walks through the complete process: flashing Raspberry Pi OS, enabling SSH, configuring Wi-Fi before first boot, finding your Pi on the network, and the essential first commands to run once you are connected. By the end, your Pi will be a tiny server you manage entirely from your desk.
In This Guide
- What “Headless” Means (and Why You Want It)
- What You Need
- Step 1: Flash Raspberry Pi OS With Imager Settings
- Step 2: Enable SSH Before First Boot
- Step 3: Pre-Configure Wi-Fi
- Step 4: Find Your Pi on the Network
- Step 5: Connect Over SSH
- Essential First Tasks After Connecting
- Bonus: Add a Remote Desktop With VNC
- Troubleshooting: When You Can’t Connect
- Frequently Asked Questions
- Key Takeaways
What “Headless” Means (and Why You Want It)
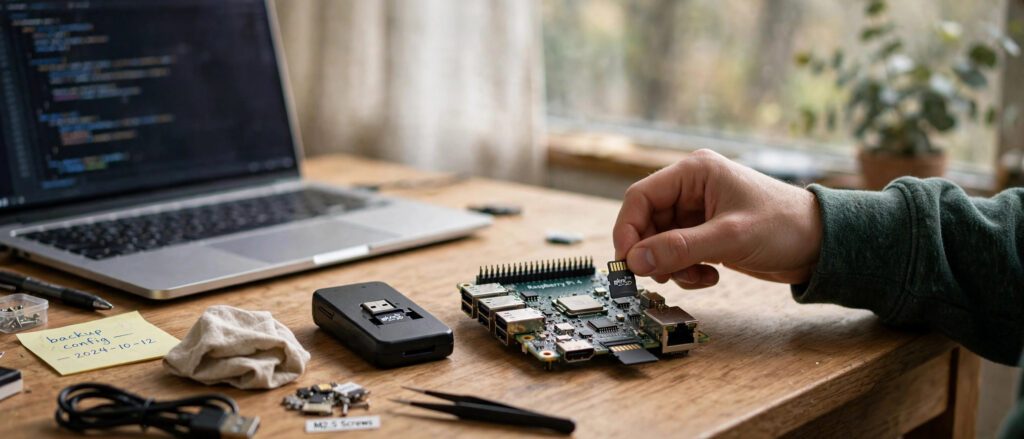
“Headless” simply means running the Pi with no monitor (“head”), keyboard, or mouse attached. Instead of a screen, you talk to the Pi over your network using SSH — a secure terminal connection from your regular computer.
Headless is the default for real projects because the Pi usually lives somewhere inconvenient: inside a robot, behind a TV, in a garden shed running sensors, or Velcroed under a desk. Dragging a monitor to each of those spots gets old fast. Learn the headless setup once, and every future Pi project — from home automation to a retro gaming console you tuck behind the TV — starts the same easy way.
What You Need
- Raspberry Pi (any model with Wi-Fi: Pi 3, 4, 5, or Zero 2 W) and the official power supply.
- MicroSD card, 16 GB or larger, plus a card reader for your computer.
- A computer (Windows, Mac, or Linux) on the same Wi-Fi network the Pi will join.
- Your Wi-Fi name and password handy.
That is it. No monitor, no keyboard, no HDMI cable required.
Step 1: Flash Raspberry Pi OS With Imager Settings
Modern Raspberry Pi Imager can do the entire headless configuration for you — this is the easiest method and the one this guide recommends.
- Install Raspberry Pi Imager from the official Raspberry Pi software page and insert your SD card.
- Click Choose OS > Raspberry Pi OS Lite (64-bit). (Lite has no desktop — perfect for headless. Pick the full version only if you plan to add VNC later.)
- Click Choose Storage and select your SD card. Double-check the drive letter — Imager will erase it.
- Click the gear icon (or press Ctrl+Shift+X) to open Advanced Options, and set:
- Hostname: something memorable like
pihome— you will connect topihome.local. - Enable SSH: tick it, and choose “Use password authentication”.
- Set username and password: create your own (do not keep the default
pi/raspberry). - Configure wireless LAN: enter your Wi-Fi SSID, password, and country code.
- Hostname: something memorable like
- Click Save, then Write. When it finishes, eject the card properly.
Imager writes a first-boot script with all your settings. When the Pi powers on, it joins your Wi-Fi and starts the SSH server automatically.
Step 2: Enable SSH Before First Boot
If you used Imager’s advanced options above, SSH is already enabled — skip this section. It is here for the manual method, which is useful to understand and works with any OS image:
- After flashing, open the SD card’s
bootpartition on your computer. - Create an empty file named exactly
ssh(no extension) in the boot partition. On Windows, create a text file and rename it tossh, removing.txt. - On first boot, Raspberry Pi OS sees this file, enables the SSH server, and deletes the file.
That single empty file is the entire “enable SSH” mechanism. Simple, but easy to get wrong — the filename must be exactly ssh with no extension, and it must sit in the boot partition’s root, not in a subfolder.
Step 3: Pre-Configure Wi-Fi
Again, Imager’s advanced options already handle this. The manual alternative is a wpa_supplicant.conf file in the boot partition:
country=US
ctrl_interface=DIR=/var/run/wpa_supplicant GROUP=netdev
update_config=1

network={
    ssid="YourWiFiName"
    psk="YourWiFiPassword"
    key_mgmt=WPA-PSK
}
Set country= to your two-letter country code (US, GB, IN, DE, etc.) — Wi-Fi will not work reliably without it. Use straight quotes, not curly ones, and keep the SSID exactly as your router shows it, including capitalization.
Step 4: Find Your Pi on the Network
Insert the SD card, connect power, and wait 60–90 seconds for the first boot. Now find the Pi’s address. Try these in order:
- Hostname:
ping pihome.local(or whatever hostname you set). If it replies, you are done — use the hostname directly. - Router admin page: log in to your router and look at connected devices for the hostname you chose.
- Network scan: install a free scanner like Advanced IP Scanner (Windows) or run
nmap -sn 192.168.1.0/24on Linux/Mac, and look for a device named like your hostname.
The .local hostname method works on most home networks and means you never have to memorize an IP address.
Step 5: Connect Over SSH
Open a terminal (Windows: PowerShell or Windows Terminal — SSH is built in on Windows 10 and 11) and run:
ssh [email protected]The first connection shows a fingerprint warning — type yes. Enter your password, and you will see the Pi’s command prompt. Congratulations: you are now controlling a computer with no screen.
If you set a custom hostname in Imager, use it. Otherwise the default is raspberrypi.local. You can also use the raw IP address: ssh [email protected].
Make SSH nicer: key-based login
Typing passwords gets old. From your computer, generate a key pair once:
ssh-keygen -t ed25519Accept the defaults, then copy the key to the Pi:
ssh-copy-id [email protected]After this, SSH logs you in without a password — and it is more secure than passwords, too.
Essential First Tasks After Connecting
Run these on every fresh Pi before starting your project:
sudo apt update && sudo apt upgrade -y
sudo raspi-config
In raspi-config: expand the filesystem is automatic on modern images, but do set your timezone (Localization Options) and change nothing else for now. Then lock things down:
# Give the Pi a fixed address so it never moves on your network
# (or set a DHCP reservation on your router - easier)

# Check the Pi is healthy
vcgencmd measure_temp
df -h
Finally, update regularly — a headless Pi you forget about is a Pi with unpatched software. A monthly sudo apt update && sudo apt upgrade -y over SSH takes thirty seconds. If you end up installing downloaded software on it later, you may need our guide on how to install tar.gz files, since Raspberry Pi OS shares Ubuntu’s Debian roots.
Bonus: Add a Remote Desktop With VNC
Sometimes you want a graphical desktop without a monitor. Install Raspberry Pi OS (full, with desktop) instead of Lite, then enable VNC:
sudo raspi-config
# Interface Options > VNC > Yes
Install RealVNC Viewer on your computer, connect to pihome.local, and you get the full Pi desktop in a window. VNC over Wi-Fi is fine for configuration and light use; stick with SSH for day-to-day work since it is faster.
Troubleshooting: When You Can’t Connect
“Connection timed out” or “host not found”
The Pi probably never joined Wi-Fi. Recheck the SSID spelling and password in your Imager settings or wpa_supplicant.conf, verify the country code, and confirm your router is 2.4 GHz-capable — older Pi models (and the Zero) cannot see 5 GHz-only networks.
“Connection refused” on port 22
SSH is not running. The ssh file may have had a hidden extension (ssh.txt is the classic Windows trap — enable “show file extensions” and check), or Imager’s SSH option was not ticked.
You can ping the Pi but SSH asks for a password forever
You are using the wrong username. Imager’s custom username replaced the old default pi — use the username you created, not pi.
The Pi appears then disappears from the network
Almost always power. A phone charger that cannot sustain 5V under load causes brownouts that drop Wi-Fi. Switch to the official Raspberry Pi power supply before debugging anything else.
Frequently Asked Questions
Can I do a headless setup without Raspberry Pi Imager?
Yes. Flash any Raspberry Pi OS image with a tool like Balena Etcher, then manually add the ssh file and wpa_supplicant.conf to the boot partition as described above. Imager just automates those two steps.
Do I need the Lite or Desktop version of Raspberry Pi OS?
For pure headless work (servers, sensors, automation), Lite is better — smaller, faster, fewer updates. Choose Desktop only if you plan to use VNC for a graphical interface.
Is SSH safe to leave enabled?
On your home network, yes — especially with key-based login and a strong password. Never expose SSH directly to the internet (port-forwarding port 22) unless you know exactly what you are doing; use a VPN like Tailscale instead.
How do I shut down a headless Pi safely?
Never just pull the plug — that corrupts the SD card. Run sudo shutdown -h now over SSH, wait 30 seconds for the green LED to stop flashing, then unplug.
Can I switch an existing desktop Pi to headless?
Yes. Enable SSH with sudo raspi-config (Interface Options > SSH), note the IP or hostname, unplug the monitor, and reboot. Nothing else changes.
What if my Pi has no Wi-Fi (older model)?
Use Ethernet for the first boot — SSH works the same way over a cable. Or add a cheap USB Wi-Fi dongle supported by Linux.
Key Takeaways
- Raspberry Pi Imager’s advanced options (Ctrl+Shift+X) configure SSH, Wi-Fi, and hostname before first boot.
- The manual fallback: an empty
sshfile pluswpa_supplicant.confin the boot partition. - Connect with
ssh [email protected], then switch to key-based login. - Set the country code and use the official power supply — they fix most “mysterious” failures.
- Update monthly and shut down with
sudo shutdown -h now, never by pulling the plug.
Conclusion
A Raspberry Pi headless setup removes the biggest friction in Pi projects: the monitor. Flash with your settings baked in, power on, SSH in, and you have a fully working Linux computer you manage from your couch.
From here, the Pi is a blank canvas. Turn it into a home automation hub, a retro console, or a tiny web server — every one of those projects starts exactly where this guide ends. The headless workflow you just learned is the foundation skill behind all of them, so it pays off on every Pi you will ever own.