
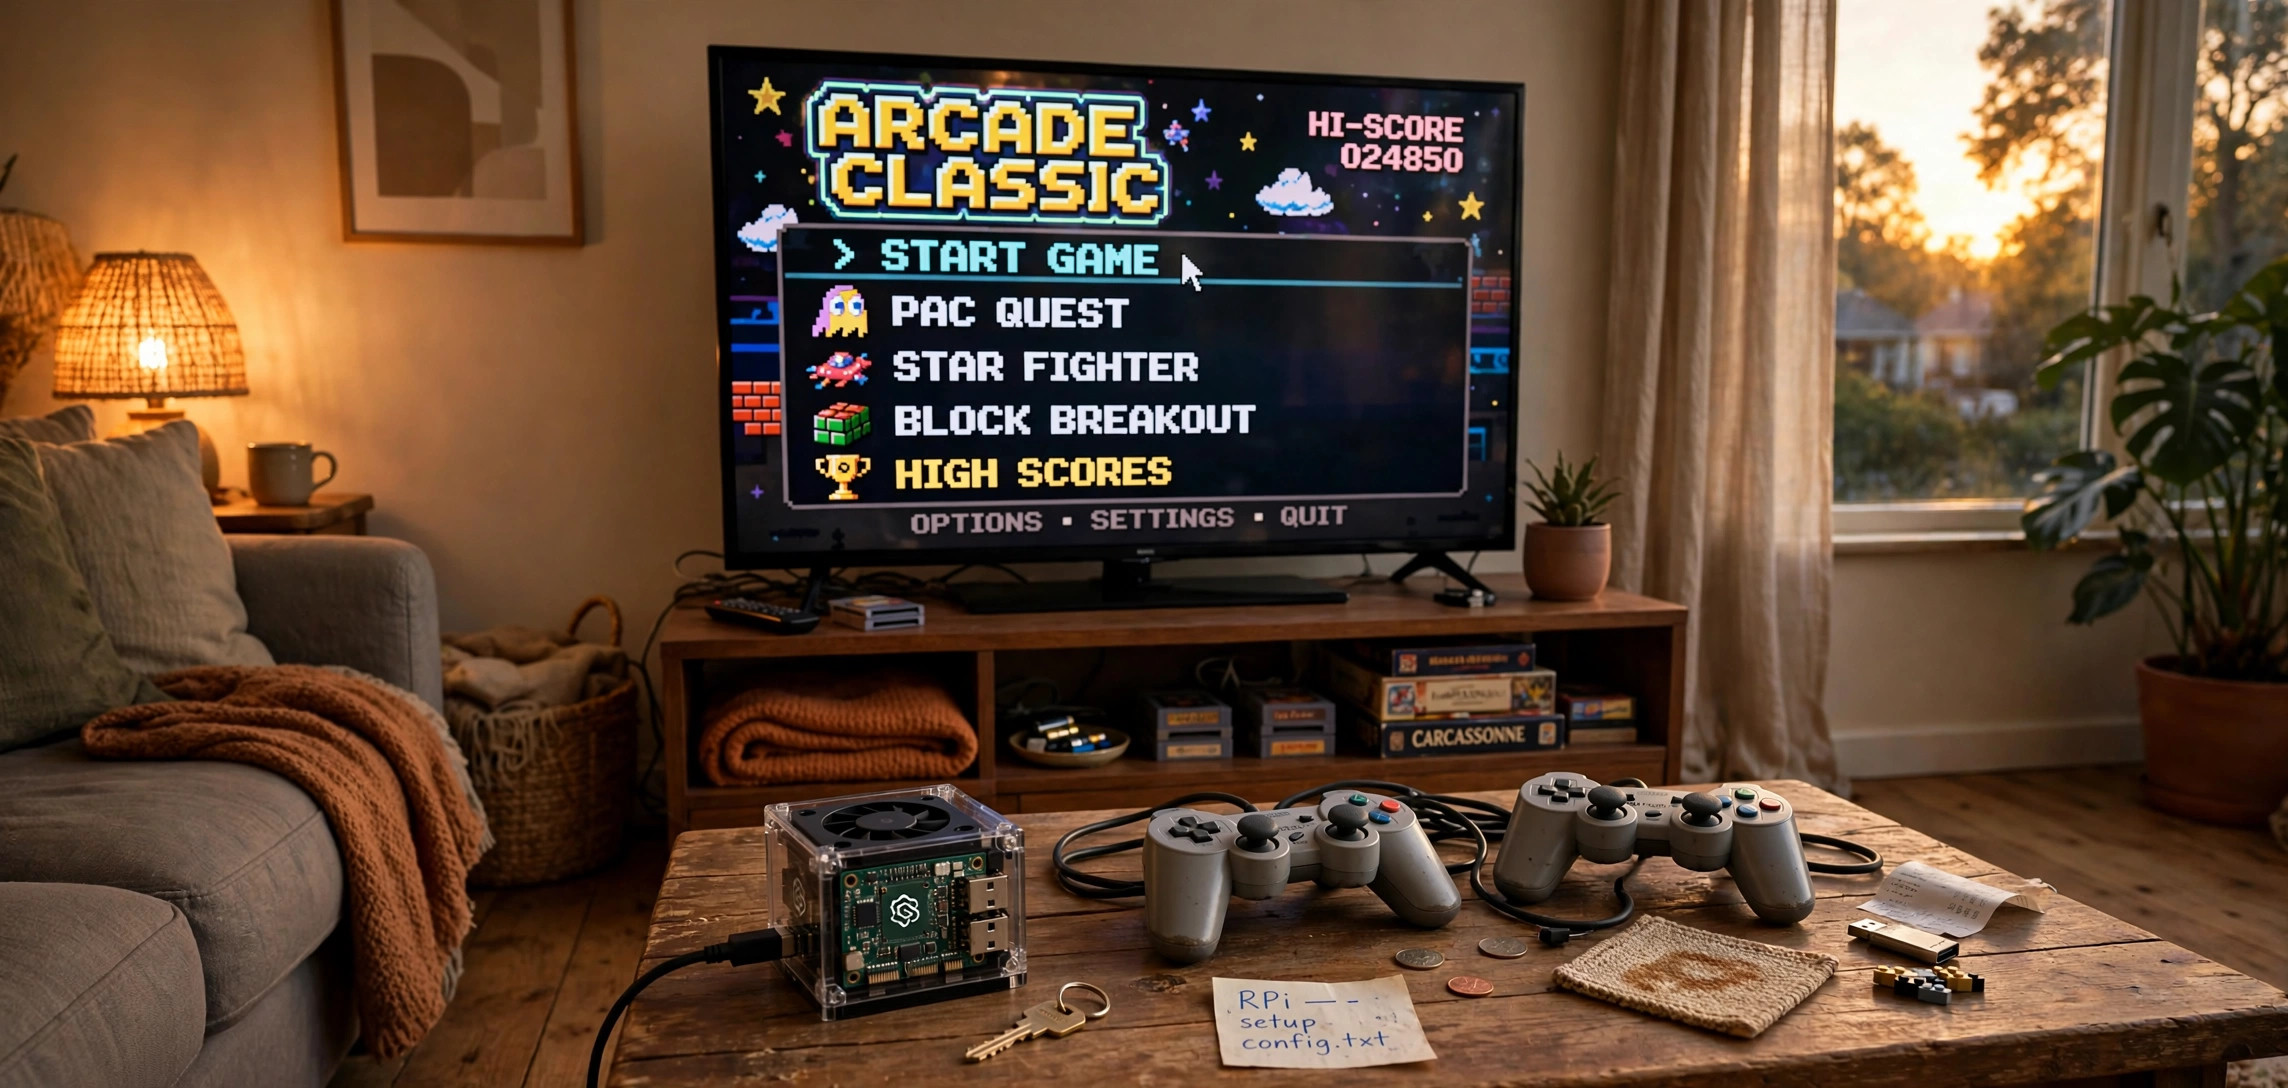
Want to play the classic games of your childhood on your TV? Learning how to make a retro gaming console with Raspberry Pi is one of the most fun weekend projects in DIY tech. A single Pi can emulate thousands of retro games — from 8-bit NES platformers to PlayStation-era RPGs — all in a box smaller than a deck of cards.
This step-by-step guide covers everything: which Pi and accessories to buy, how to install the RetroPie gaming software, how to add controllers and games legally, and how to tweak performance so everything runs smoothly. No Linux experience needed.
In This Guide
- What You Need: Parts List
- Step 1: Install RetroPie on the SD Card
- Step 2: First Boot and Controller Setup
- Step 3: Adding Games (ROMs) the Right Way
- Step 4: Add Box Art and Game Descriptions
- Step 5: Performance Tweaks for Smooth Play
- The Legal Side: ROMs and BIOS Files
- Fun Upgrades Once It’s Working
- Troubleshooting Common Problems
- Frequently Asked Questions
- Key Takeaways
What You Need: Parts List
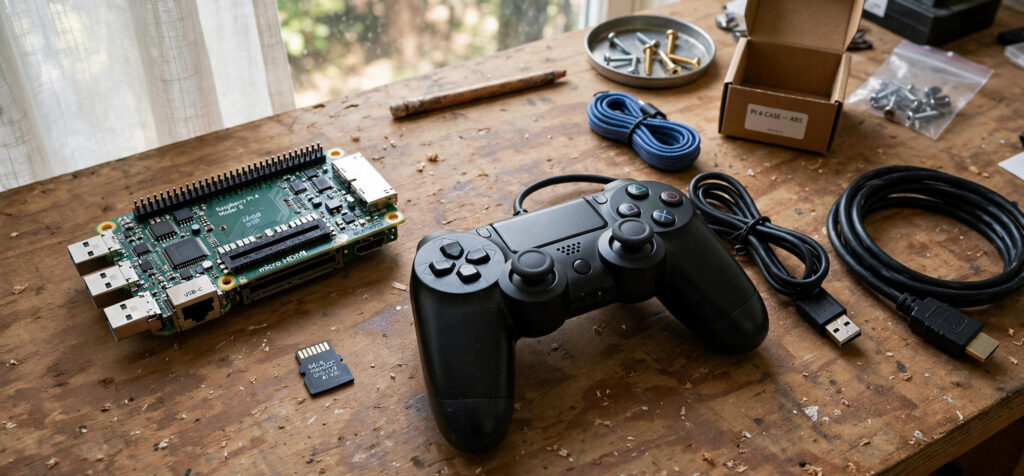
- Raspberry Pi 4 (2 GB or 4 GB) or Pi 5. The Pi 4 handles everything up to PlayStation 1 and most N64 games; the Pi 5 adds headroom for Dreamcast and PSP. A Pi 3 works for 8-bit and 16-bit systems but struggles beyond that.
- Official Raspberry Pi power supply. Underpowered chargers cause the lightning-bolt warning and random crashes mid-game.
- MicroSD card, 32 GB minimum (64 GB recommended). Game collections grow fast — a full set of your favorites across ten systems easily passes 20 GB.
- USB game controller. An 8BitDo SN30 Pro or a wired Xbox 360 controller are proven choices that work out of the box.
- HDMI cable and a case with cooling. Gaming pushes the Pi hard; a case with a fan prevents thermal throttling during long sessions.
- Keyboard (temporary). You only need it for the initial setup; the controller takes over after that.
Step 1: Install RetroPie on the SD Card
RetroPie is the go-to software: it bundles EmulationStation (the game-library frontend) with RetroArch and dozens of emulators, all preconfigured for the Pi.
- Download and install Raspberry Pi Imager on your computer.
- Choose OS > Emulation and game OS > RetroPie, picking the image that matches your Pi model. (You can also download the image from the official RetroPie download page and flash it manually.)
- Select your SD card and click Write.
- Insert the card into the Pi, connect HDMI and power, and boot. The first boot expands the filesystem and takes a few minutes.
Step 2: First Boot and Controller Setup
On first boot, RetroPie shows a “no gamepads detected” screen and asks you to configure your controller. Hold any button on your gamepad, then follow the prompts: map D-pad, buttons, start, select, and hotkey. Set the hotkey to Select — pressing Select+Start together will exit any game back to the menu.
After configuration you land in EmulationStation, the menu system. Right now it is empty, which is normal — next, we add games.
Connect to Wi-Fi first
Press Start to open the main menu, go to Wi-Fi, and connect to your network. Wi-Fi enables the built-in scraper (box art downloads) and lets you transfer games from your computer. Note your Pi’s IP address from the same menu — you will need it.
Step 3: Adding Games (ROMs) the Right Way
ROMs are the game files. The easiest transfer method is SFTP from your computer:
- On your computer, open a file manager that supports SFTP (or install FileZilla).
- Connect to
sftp://pi@<your-pi-ip>with the default passwordraspberry(change it later). - Copy each ROM into its system’s folder under
/home/pi/RetroPie/roms/— e.g. NES games go innes, SNES games insnes, Game Boy ingb. - Restart EmulationStation (Start menu > Quit > Restart EmulationStation) and your games appear, sorted by system.
USB stick method (no network needed): format a USB drive as FAT32, create a folder called retropie on it, plug it into the Pi, wait a minute, unplug it — RetroPie creates the full roms folder structure on the stick. Copy ROMs into the right folders on your computer, plug the stick back into the Pi, and it imports them automatically.
You can also copy files over SSH with scp:
scp mario.nes [email protected]:/home/pi/RetroPie/roms/nes/Replace the IP with your Pi’s address. If you have never used SSH with a Pi before, our Raspberry Pi headless setup guide walks through the basics.
Step 4: Add Box Art and Game Descriptions
A wall of bare filenames looks sad. The built-in scraper downloads cover art, descriptions, and ratings automatically:
- Press Start > Scraper.
- Choose Scrape Now, pick the systems to scrape, and start.
- Wait — scraping hundreds of games takes a while on the default free service. Be patient or scrape overnight.
After scraping, each game shows its box art and a description. This single step transforms the project from “a Pi with files” into something that feels like a real console.
Step 5: Performance Tweaks for Smooth Play
Match the emulator to the system
RetroPie often installs multiple emulators per system. If a game stutters, press a button during its launch to open the runcommand menu and try a different emulator — for example, lr-snes9x runs SNES games faster on a Pi 4 than the more accurate bsnes core.
Keep the Pi cool
Check for the thermometer icon in the corner during play — it means thermal throttling is cutting performance. A fan case or small heatsinks fix it. This matters most on the Pi 5 and during N64/PS1 emulation.
Use the right video settings
In RetroArch (opened with Select+X in-game), try integer scaling and the “zfast” CRT shader for authentic scanlines without the performance cost of heavy shaders. Disable rewind and run-ahead features if you need every frame — they cost CPU.
Overclock only as a last resort
Mild overclocks are possible via /boot/config.txt, but they void no warranties yet still risk SD card corruption on unstable power. Fix cooling and emulator choice first; overclock only if a specific game still struggles.
The Legal Side: ROMs and BIOS Files
The safe rule: only play games you own. Dumping your own cartridges with a device like the Retrode, or buying from legitimate digital storefronts that sell DRM-free ROMs, keeps you on solid ground. Downloading ROMs of games you do not own from random sites is copyright infringement in most countries, regardless of what those sites claim.
Some systems also need BIOS files (e.g. PlayStation). These must be dumped from real hardware you own and placed in /home/pi/RetroPie/BIOS/. RetroPie’s docs list exactly which files each system needs.
Fun Upgrades Once It’s Working
- Second controller for multiplayer — most emulators support it with zero extra config.
- Kodi for media: RetroPie’s optional packages include Kodi, turning the same box into a movie player.
- Save-state hotkeys: Select+R1 saves, Select+L1 loads — faster than any in-game save menu.
- Custom themes: EmulationStation themes completely change the menu look; install them from the RetroPie-Setup menu.
- Netplay: RetroArch supports online multiplayer for many systems if a friend builds one too.
Like this kind of project? Your Pi can also run your house — see our DIY home automation with Raspberry Pi guide for the next weekend build.
Troubleshooting Common Problems
Controller not detected
Try a different USB port (USB 2.0 ports are more reliable than 3.0 for some controllers), and make sure the controller is in the right mode — many 8BitDo pads need to be started in X-input mode (hold X while powering on).
Games don’t appear after copying
Check three things: the ROM is in the correct system’s folder, the file extension is one the emulator recognizes (zipped ROMs usually work — do not unzip unless told to), and you restarted EmulationStation after copying.
Black screen on boot
Usually the HDMI handshake. Edit config.txt on the SD card from your computer and add hdmi_safe=1, boot once, then remove it and set your proper resolution.
Audio crackling or lag
In RetroArch, set the audio driver to alsathread and raise the audio latency slightly. Crackling is almost always a buffer issue, not a broken speaker.
Frequently Asked Questions
Which Raspberry Pi is best for retro gaming?
The Pi 4 (4 GB) is the sweet spot for most people — it emulates everything up to PlayStation 1 flawlessly and handles much of N64. The Pi 5 is better for Dreamcast, PSP, and Saturn, but costs more and runs hotter.
How many games can fit on a 64 GB card?
Thousands. Cartridge-era games are tiny (NES games are often under 1 MB). The space hogs are CD-based systems — a PlayStation library of 50 games can eat 30 GB alone. Start with 64 GB and expand later if needed.
Can I use a PS4 or Xbox controller?
Yes. Wired Xbox 360 controllers work instantly over USB. PS4/Xbox One controllers work over USB too, and over Bluetooth after pairing in the RetroPie Bluetooth menu.
Is RetroPie the only option?
No — Lakka and Recalbox are solid alternatives with different interfaces. RetroPie has the largest community and the most tutorials, which is why this guide recommends it for beginners.
Can the same Pi also do other projects?
Technically yes, but a dedicated gaming Pi is happier. Swapping SD cards is the practical approach: one card for RetroPie, another for your next project.
Why do some N64 games run slowly?
N64 emulation is demanding and accuracy varies per game. Try the lr-mupen64plus-next core first, enable cooling, and accept that a handful of titles will never run perfectly on Pi hardware.
Key Takeaways
- A Pi 4 or 5, a 64 GB card, a USB controller, and RetroPie are all you need.
- Flash RetroPie with Raspberry Pi Imager, configure your controller on first boot.
- Transfer ROMs over SFTP or USB stick into the correct system folders.
- Scrape box art to turn a file list into a real console experience.
- Only play games you own, and dump BIOS files from your own hardware.
Conclusion
You now know how to make a retro gaming console with Raspberry Pi: pick the parts, flash RetroPie, set up your controller, add your games, scrape the artwork, and tune performance. In one weekend you go from a bare circuit board to a living-room console with thousands of classics.
Start with your ten favorite games rather than a giant ROM pack — a curated library you actually play beats a thousand files you never open. And when the build bug bites again, your Pi skills transfer directly: the same flashing, SSH, and Linux basics power Ubuntu terminal skills or a full home automation setup. Game on.