
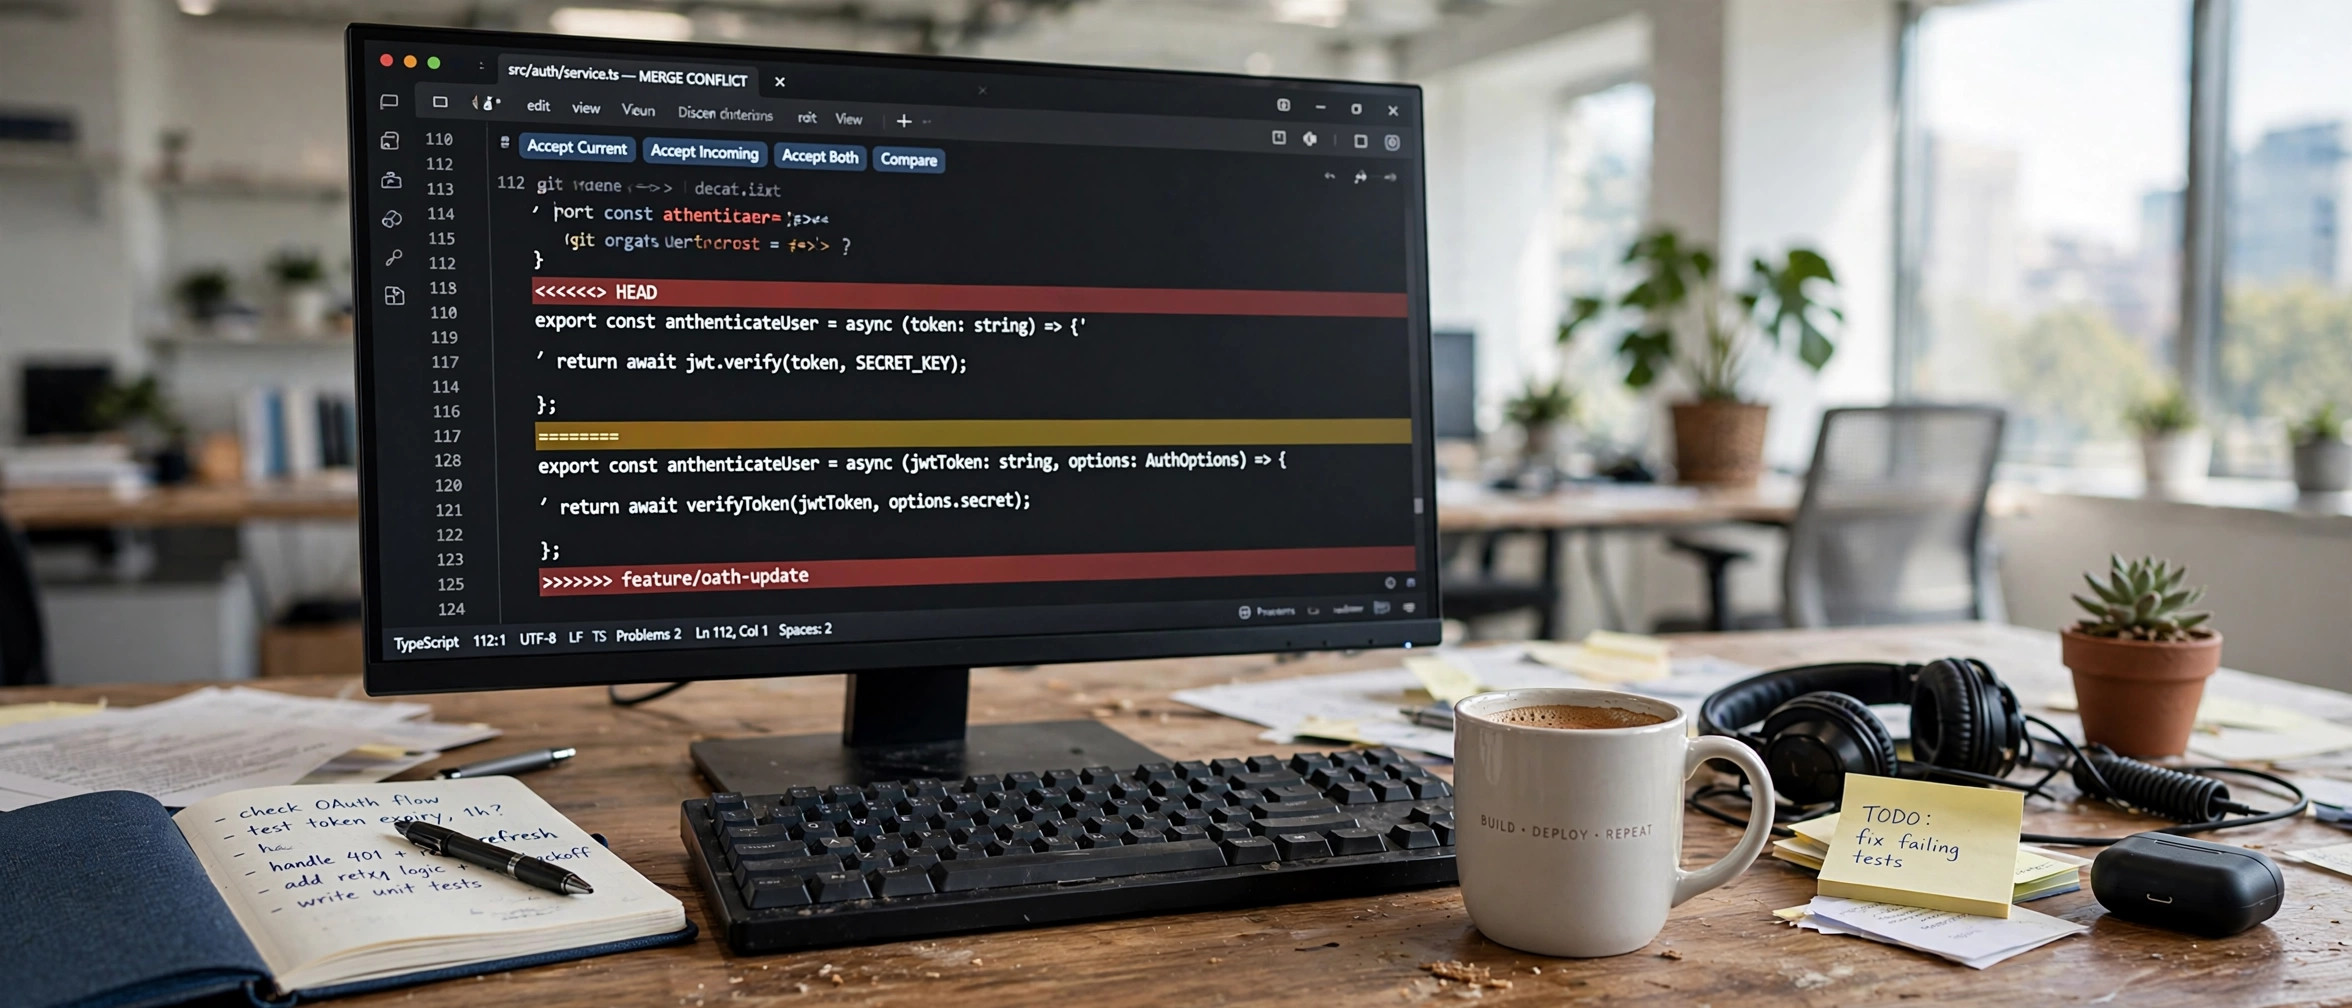
Nothing makes a beginner’s heart sink like this line in the terminal: CONFLICT (content): Merge conflict in app.js. Your pull or merge stopped halfway, your files now contain strange <<<<<<< markers, and Git refuses to continue. This beginner-friendly guide shows you how to resolve a Git merge conflict step by step, so you can fix conflicts safely without losing anyone’s work.
Here is the reassuring truth: a merge conflict is not an error and nothing is broken. Git simply found two changes to the same lines of code and decided it needs a human — you — to make the call. Conflicts are a normal part of working with Git, and once you have resolved a few by hand, they stop being scary. Let us walk through exactly what to do.
In This Guide
- What a Git Merge Conflict Actually Is
- Step 1: Stay Calm and Inspect the Damage
- Step 2: Open the File and Read the Conflict Markers
- Step 3: Choose the Right Changes and Clean Up the Markers
- Step 4: Stage the Fixed File and Complete the Merge
- Step 5: Know How to Abort a Merge Safely
- Step 6: Prevent Conflicts Before They Happen
- Tricky Scenarios: Deleted Files, Binary Files and Rebase Conflicts
- Frequently Asked Questions
- Key Takeaways
- Conclusion
What a Git Merge Conflict Actually Is
Git merges branches by comparing three things: the common ancestor of the two branches, the tip of your branch, and the tip of the branch you are merging. When both branches changed the same lines of the same f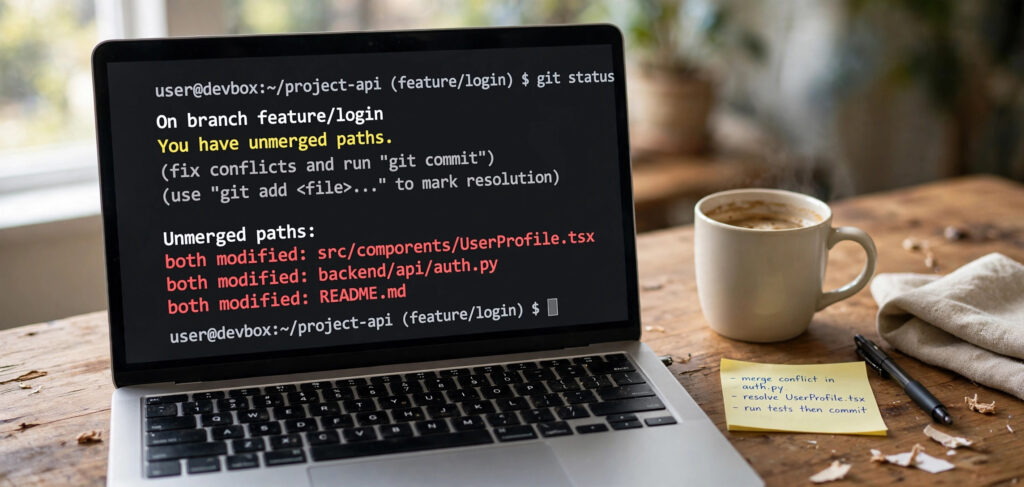 ile in different ways since that ancestor, Git cannot decide which version is correct, so it stops and asks you.
A typical conflict notice looks like this:
$ git pull origin main
Auto-merging config.py
CONFLICT (content): Merge conflict in config.py
Automatic merge failed; fix conflicts and then commit the result.
Notice what Git did not do: it did not delete anything, it did not corrupt your repository, and it did not push anything anywhere. Your working files, both versions of the changes, and the entire history are all intact. Git simply paused the merge and is waiting for instructions. That is the whole situation, and it is fully recoverable.
It also helps to know what does not cause conflicts. If you and a teammate edit different files, or different parts of the same file, Git merges everything automatically and you never hear a word about it. Conflicts only arise from overlapping edits, which is why small, frequent merges are the best prevention (see Step 6).
Step 1: Stay Calm and Inspect the Damage
The first move is not to edit anything. Run git status and read it carefully:
$ git status
On branch feature-login
You have unmerged paths.
  (fix conflicts and run "git commit")
  (use "git merge --abort" to abort the merge)

Unmerged paths:
  (use "git add <file>..." to mark resolution)
        both modified:   config.py
This tells you three useful things: which branch you are on, that a merge is in progress, and exactly which files have conflicts (“both modified”). If you are mid-merge, do not start a new merge, do not switch branches with uncommitted conflict state, and definitely do not run git reset --hard — that last one discards work and is the one genuinely dangerous command in this situation.
A handy overview of every conflict in the repository is:
git diff --name-only --diff-filter=UThis lists only the unmerged files, which is useful when a merge touches many files and you want a checklist to work through.
Step 2: Open the File and Read the Conflict Markers
Open the conflicted file in your editor. Git has inserted conflict markers that show both versions side by side. Here is a realistic example:
<<<<<<< HEAD
DEBUG = False
PORT = 8080
=======
DEBUG = True
PORT = 3000
>>>>>>> feature-login
Read the markers like this:
<<<<<<< HEADmarks the start of your version — the state of the branch you were on when you started the merge.=======is the divider between the two versions.>>>>>>> feature-loginmarks the end of the incoming version — the branch you are merging in.
So in the example above, your branch has DEBUG = False and port 8080, while feature-login has DEBUG = True and port 3000. Your job in the next step is to produce the one correct version of this section.
A visual alternative
If marker soup is hard to read, Git can open a visual merge tool: git mergetool launches a configured diff tool (VS Code, Meld, Beyond Compare) showing local, base, and remote versions side by side. It edits the same markers under the hood, so the mental model is identical — it is just easier on the eyes for large conflicts.
Step 3: Choose the Right Changes and Clean Up the Markers
Now make the decision. There are exactly four possible outcomes for each conflicted section, and you should pick deliberately:
- Keep yours: delete the incoming section and all markers, leaving your code.
- Keep theirs: delete your section and all markers, leaving the incoming code.
- Keep both: combine the changes (for example, keep their new config key and your updated value) and delete the markers.
- Write something new: replace the whole section with a third version that is better than either, and delete the markers.
Here is what “keep both” looks like for our example, assuming both changes are legitimate:
DEBUG = True
PORT = 8080
The critical rule: every marker must be gone when you finish. Search the file for <<<<<<< before moving on — a leftover marker is a syntax error in most languages and will break your program in a way that is confusing to debug later.
Shortcuts when you want one whole side
If you have decided to take the entire incoming version of a file (or your entire version), you do not need to hand-edit every section:
# Take THEIR version of the file
git checkout --theirs config.py

# Take YOUR version of the file
git checkout --ours config.py
Use these with care — they discard one side’s changes for the whole file. They are perfect for generated files or cases where you know one side is authoritative, but never use them blindly on code you have not read. If you accidentally undo too much, remember our guide on how to undo a Git commit while keeping your changes covers the safety nets that can get work back.
Step 4: Stage the Fixed File and Complete the Merge
Once every marker is removed and the file looks correct, tell Git the conflict is resolved by staging the file:
git add config.pyStaging a previously conflicted file is what marks it “resolved” — Git watches for this. Repeat for every conflicted file, then check git status again. When the “Unmerged paths” section is empty, you are ready to finish the merge:
git commitDo not add -m here. Git has already prepared a sensible merge commit message (“Merge branch ‘feature-login’ into …”), and running plain git commit lets you review and accept it. This merge commit is valuable history: it permanently records that two lines of development were joined here and what the resolution was.
After committing, run your tests or at least run the program. Conflict resolutions are hand-edited code, and hand-edited code deserves a quick smoke test before it goes anywhere. If you later push and the remote has moved on, you may hit the “push rejected: non-fast-forward” error — our guide to fixing it shows how to update safely without losing work.
Step 5: Know How to Abort a Merge Safely
Sometimes the right move is to stop. Maybe the conflict is enormous, maybe you merged the wrong branch, or maybe you just want to think it over. Aborting returns everything to the state before the merge started:
git merge --abortThis is completely safe as long as the merge is still in progress. Your branch goes back to exactly how it was before you typed git merge or git pull. No commits are created, no history is rewritten, and nothing is lost.
There is one caveat: git merge --abort only works while the merge is unresolved. If you already committed the merge, aborting is no longer an option — at that point you would fix any mistake with a new commit rather than rewinding. And if the merge came from a rebase instead (git pull --rebase or git rebase), the escape hatch is git rebase --abort.
Step 6: Prevent Conflicts Before They Happen
Resolving conflicts is a skill; avoiding them is a strategy. These habits cut your conflict rate dramatically:
- Pull before you start work.
git pullat the beginning of a session means you build on the latest code instead of drifting away from it for days. - Commit small and merge often. A branch that lives for three weeks will conflict. A branch that merges every day or two rarely does, because each merge is small.
- Talk to your team. If you know someone is rewriting the authentication module, do not simultaneously rewrite the same file. A thirty-second message prevents a thirty-minute conflict.
- Keep commits focused. One logical change per commit makes it obvious what each side intended, which makes resolutions faster when conflicts do occur.
- Use
git pull --rebasefor a linear history. Rebasing replays your commits on top of the latest remote state, which surfaces conflicts one small commit at a time instead of one giant merge. Learn it once it feels comfortable — it is optional, not required.
Tricky Scenarios: Deleted Files, Binary Files and Rebase Conflicts
“Deleted by them” / “deleted by us”
Sometimes the conflict is not overlapping lines but a disagreement about a file’s existence: you edited old.py while your teammate deleted it. Git reports this as both deleted or deleted by them. Decide whether the file should live or die: git add old.py keeps it (with your edits), git rm old.py accepts the deletion. Then commit.
Binary files
Images, PDFs, and compiled files cannot be merged line by line, so Git forces you to pick a side with git checkout --ours or --theirs. The real lesson: avoid committing binaries that change often. Large frequently-edited binaries belong in Git LFS or outside the repository entirely.
Conflicts during a rebase
Rebase conflicts look the same but resolve slightly differently: fix the file, then run git rebase --continue instead of committing. Git applies your remaining commits one by one, and you may resolve several small conflicts in sequence. git rebase --abort backs out entirely, just like git merge --abort does for merges. The official git-rebase documentation and the GitHub guide to resolving conflicts on the command line are excellent references when you want to go deeper.
Frequently Asked Questions
Will resolving a merge conflict delete my code?
No — not if you resolve it deliberately. Git keeps both versions available until you finish, and the merge commit preserves the history of both branches. Code is only lost if you carelessly choose one side for a whole file with --ours or --theirs without reading it, or if you run destructive commands like git reset --hard mid-merge. Read before you choose and your work is safe.
What do the <<<<<<<, ======= and >>>>>>> markers mean?
They are Git’s way of showing both versions of a conflicted section in the file itself. Everything between <<<<<<< HEAD and ======= is your branch’s version; everything between ======= and >>>>>>> is the incoming branch’s version. You replace the whole marked block with the correct final code.
Can I resolve conflicts in VS Code or GitHub Desktop instead of the terminal?
Yes. VS Code highlights conflicts with “Accept Current Change / Accept Incoming Change / Accept Both Changes” buttons above each section, which does the same marker cleanup for you. GitHub Desktop offers a similar guided flow. The underlying process is identical — you are still choosing the final content and committing the resolution.
What if I already pushed a bad conflict resolution?
Fix it with a new commit. Edit the file to the correct state, commit, and push again. Do not rewrite the pushed merge commit on a shared branch — rewriting shared history causes more problems than a follow-up fix commit ever will.
Why does git pull cause conflicts? I only wanted the latest code.
git pull is git fetch followed by git merge. If you have local commits the remote does not have, and the remote has commits you do not have, the merge step can conflict. Pulling frequently keeps the two sides close together and conflicts small.
Should beginners use merge or rebase?
Start with merge — it is non-destructive and its history is honest about what happened. Once you are comfortable resolving conflicts, experiment with rebase on your own private branches. Never rebase branches other people are working on.
Key Takeaways
- A merge conflict is Git pausing to ask a human question, not an error — nothing is broken and nothing is lost.
- Always start with
git status, read the conflict markers (<<<<<<<,=======,>>>>>>>), and understand both sides before choosing. - Delete every marker, stage with
git add, and finish with a plaingit committo record the resolution. git merge --abortsafely cancels an in-progress merge;git rebase --abortdoes the same for rebases.- Pull often, commit small, merge frequently, and communicate — prevention beats resolution every time.
Conclusion
Learning how to resolve a Git merge conflict step by step turns one of Git’s most intimidating moments into routine maintenance: inspect with git status, read the markers, choose the correct final code, remove every marker, stage, and commit. Practice the flow on a test repository once, and the next time a real conflict appears mid-pull, you will handle it in minutes — calmly, safely, and without losing anyone’s work.