
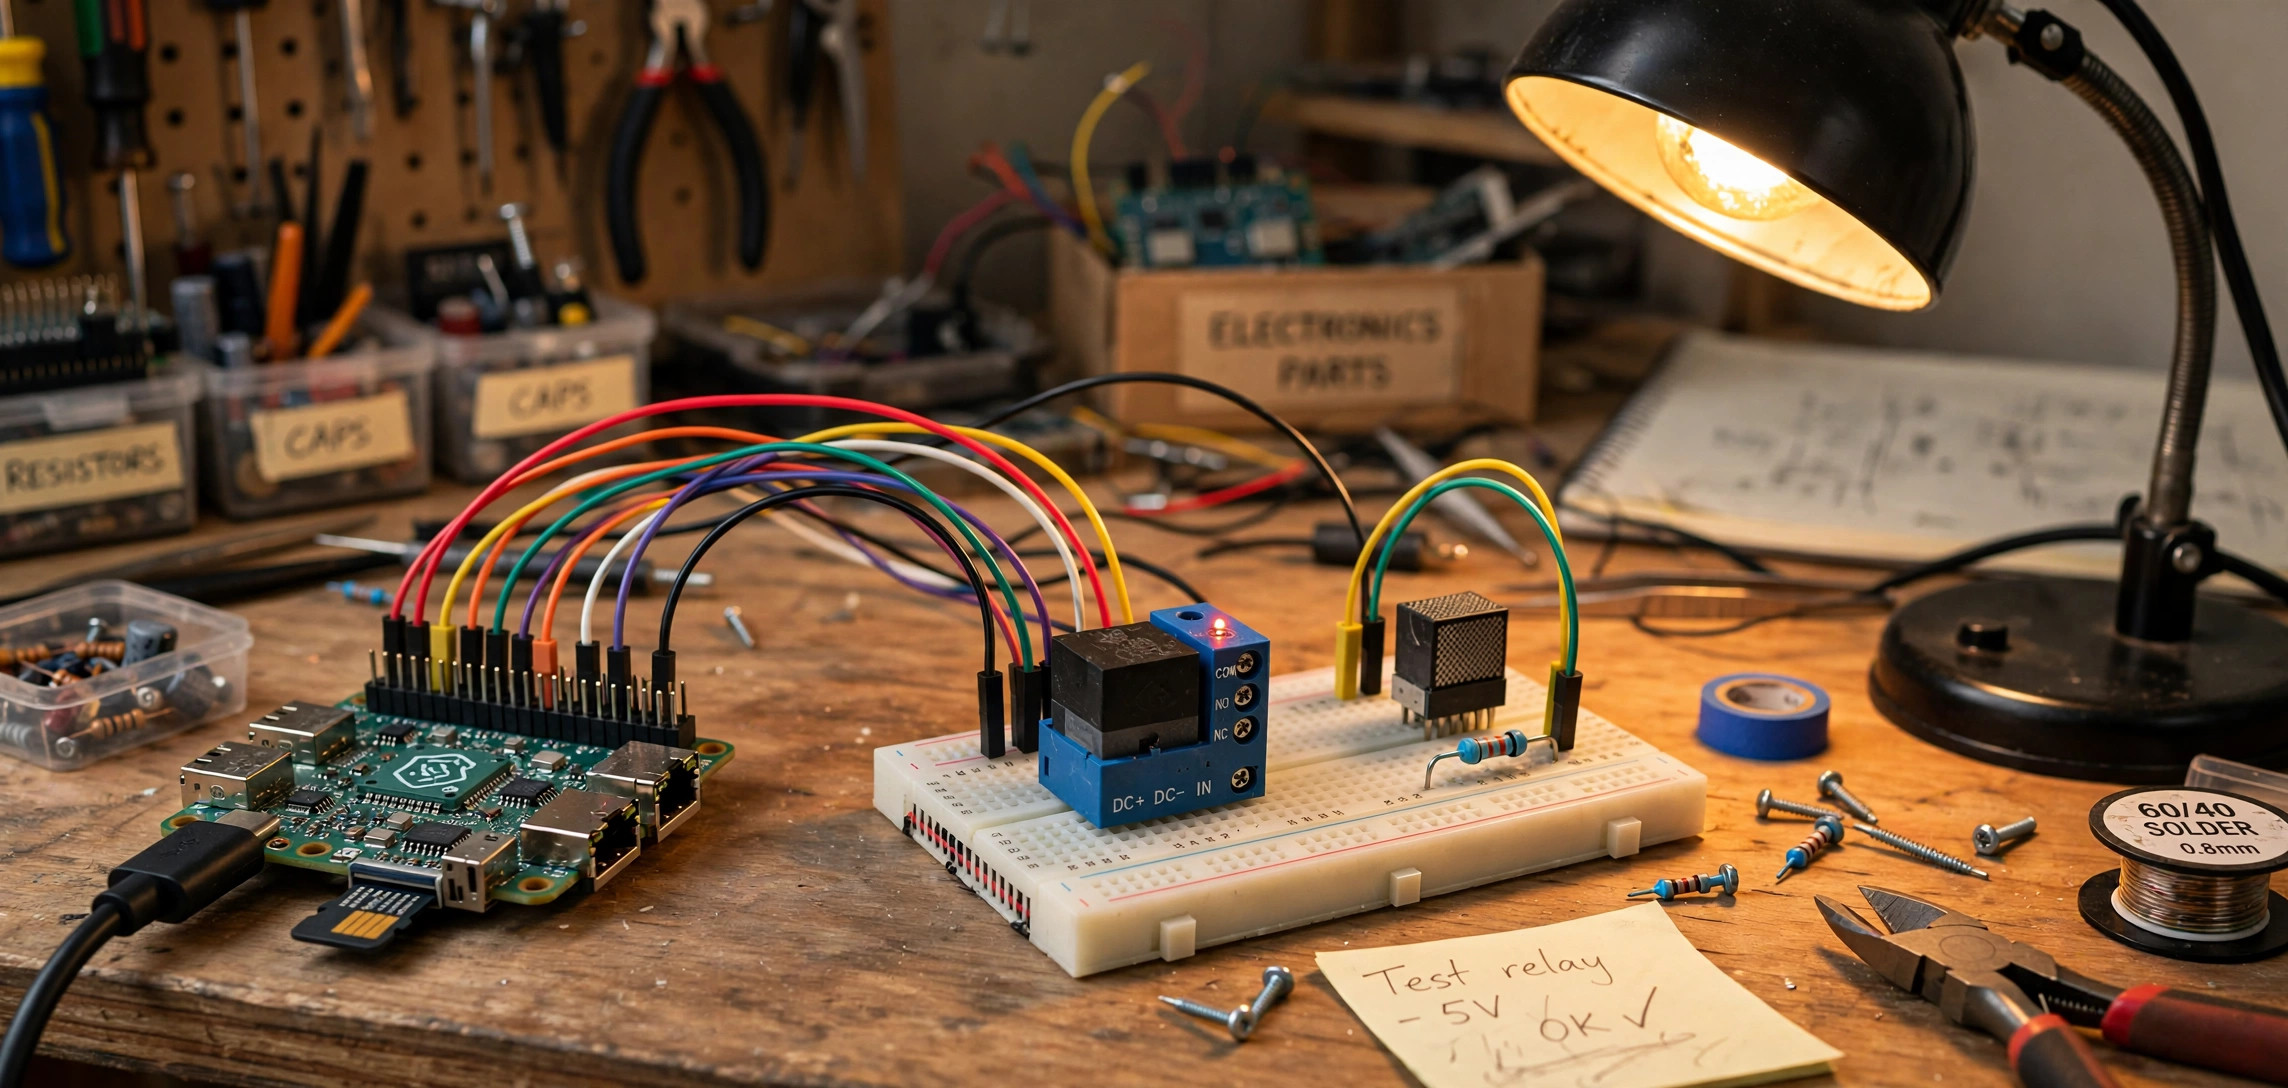
DIY home automation with Raspberry Pi is the perfect first hardware project for a beginner. For the price of a pizza night, you can build a tiny computer that turns lights on at sunset, tells you when the washing machine finishes, or waters your plants while you are on holiday. No cloud subscription, no vendor lock-in — your data stays in your house.
This beginner guide covers exactly what to buy, how to set the Pi up, and three working automations you can build this weekend, complete with real code you can copy and paste. You do not need any electronics experience to start — just a Pi, a few cheap parts, and an afternoon.
In This Guide
- Why Raspberry Pi Is Ideal for Home Automation
- What to Buy: The Starter Shopping List
- Setting Up Your Pi for Automation
- Project 1: Smart Light That Turns On at Sunset
- Project 2: Temperature Alerts on Your Phone
- Project 3: Automatic Plant Watering
- Going Further With Home Assistant
- Safety Rules for DIY Automation
- Frequently Asked Questions
- Key Takeaways
Why Raspberry Pi Is Ideal for Home Automation
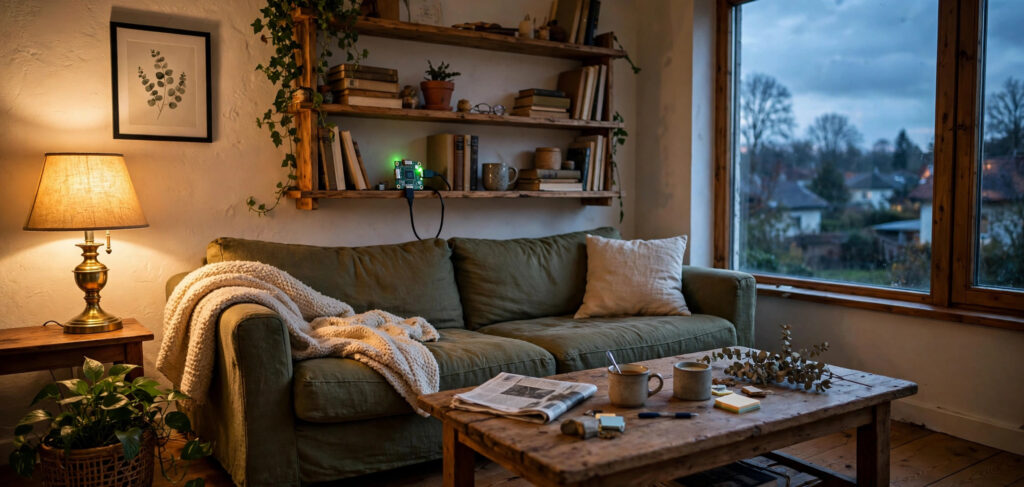
A Raspberry Pi is a credit-card-sized computer that runs Linux, costs very little, and sips power (about 5 watts — less than a phone charger). Three things make it perfect for home automation:
- GPIO pins: 40 pins that can read sensors and switch relays, so the Pi talks directly to the physical world.
- Always-on and silent: it runs 24/7 with no fan and no moving parts, ideal for a device that lives in a cupboard for years.
- Huge community: almost every automation problem you will hit has been solved and documented by someone else.
If you have never set up a Pi before, do that first — our guide to Raspberry Pi headless setup gets you running without even needing a monitor.
What to Buy: The Starter Shopping List
You do not need much. For the projects in this guide:
- Raspberry Pi 4 or 5 (2 GB RAM is plenty) with official power supply — the single most important purchase; cheap knockoff chargers cause random crashes.
- MicroSD card, 32 GB, A2 rated — the Pi’s “hard drive”. Buy a known brand; counterfeit cards are the top cause of corrupted setups.
- Relay module (5V, 1–2 channel) — a safe, isolated switch that lets the Pi control mains-powered lamps. This is how you switch real lights without touching mains wiring directly.
- DHT22 temperature/humidity sensor — accurate, cheap, and easy to wire.
- Soil moisture sensor + small 5V water pump — for the plant project.
- Breadboard and jumper wires — for prototyping without soldering.
Total cost is typically $60–90 depending on the Pi model. Buy the Pi itself from an authorized reseller listed on raspberrypi.com to avoid fakes.
Setting Up Your Pi for Automation
Flash Raspberry Pi OS Lite (64-bit) to the SD card with Raspberry Pi Imager, enable SSH, and connect the Pi to your network. Then log in from your computer:
ssh [email protected]Update the system and install the Python libraries you will need:
sudo apt update && sudo apt upgrade -y
sudo apt install -y python3-pip python3-gpiozero
pip3 install adafruit-circuitpython-dht --break-system-packages
The gpiozero library is the beginner-friendly way to control GPIO pins from Python. The DHT library talks to the temperature sensor. That is the entire software setup — everything else is Python scripts.
Keep your Pi reachable
Give your Pi a static IP on your router (or set a DHCP reservation) so your automations and dashboards always find it at the same address. Write the address down — you will need it constantly.
Project 1: Smart Light That Turns On at Sunset
This is the classic first automation: a lamp that switches on automatically when it gets dark. Wire the relay module’s input pin to GPIO 17 on the Pi, and connect your lamp through the relay’s switched terminals (follow the relay module’s printed diagram — the low-voltage side only).
Save this as sunset_light.py:
from gpiozero import LED
from datetime import datetime
import time

# A relay behaves like an LED to gpiozero: on = switch closed
lamp = LED(17)

def is_dark():
    hour = datetime.now().hour
    return hour >= 18 or hour < 6

while True:
    if is_dark():
        lamp.on()
    else:
        lamp.off()
    time.sleep(60)  # check once a minute
Run it in the background with:
nohup python3 sunset_light.py > light.log 2>&1 &This simple version uses clock time. For a smarter version, install the astral library (pip3 install astral --break-system-packages) and compute your actual local sunset — then the light follows the seasons automatically. Want a second weekend project for the same Pi? Try building a retro gaming console with Raspberry Pi — it uses the same flashing and setup skills.
Project 2: Temperature Alerts on Your Phone
Wire the DHT22 sensor: VCC to 3.3V, GND to ground, data pin to GPIO 4. Then create temp_alert.py:
import time
import board
import adafruit_dht
from urllib.request import urlopen
from urllib.parse import urlencode

dht = adafruit_dht.DHT22(board.D4)
HOT_LIMIT = 30.0  # degrees Celsius

def send_alert(message):
    # Example using ntfy.sh - a free, no-signup push service.
    # Pick your own topic name and subscribe in the ntfy app.
    data = message.encode("utf-8")
    urlopen("https://ntfy.sh/my-home-alerts-xyz123", data=data)

while True:
    try:
        temp = dht.temperature
        print(f"Temperature: {temp:.1f}C")
        if temp is not None and temp > HOT_LIMIT:
            send_alert(f"Home is {temp:.1f}C - check the AC!")
            time.sleep(1800)  # don't spam: one alert per 30 min
    except RuntimeError:
        pass  # DHT sensors occasionally misread; just retry
    time.sleep(60)
Install the free ntfy app on your phone, subscribe to the same topic name, and you get push alerts with no account and no cost. Practical uses: freezer-failure warnings, greenhouse overheating, or a reminder that the attic is baking in summer.
Project 3: Automatic Plant Watering
Connect a capacitive soil-moisture sensor to an analog-to-digital converter (the Pi has no analog inputs — the cheap ADS1115 module works over I2C), and wire the pump through the second relay channel to GPIO 27.
import time
import board
import busio
import adafruit_ads1x15.ads1115 as ADS
from adafruit_ads1x15.analog_in import AnalogIn
from gpiozero import LED

i2c = busio.I2C(board.SCL, board.SDA)
ads = ADS.ADS1115(i2c)
moisture = AnalogIn(ads, ADS.P0)
pump = LED(27)

DRY_THRESHOLD = 20000  # calibrate: read your sensor in dry vs wet soil

while True:
    reading = moisture.value
    print(f"Soil reading: {reading}")
    if reading < DRY_THRESHOLD:
        print("Soil dry - watering for 5 seconds")
        pump.on()
        time.sleep(5)
        pump.off()
        time.sleep(3600)  # wait an hour before checking again
    time.sleep(600)
Calibrate DRY_THRESHOLD by printing readings with the sensor in dry soil and in a glass of water, then pick a value between them. Always test the pump into a bucket first — never trust untested plumbing near electronics.
Going Further With Home Assistant
Once you outgrow single scripts, install Home Assistant — free, open-source software that turns your Pi into a full smart-home hub with a phone app, dashboards, and support for thousands of devices. The quickest route is the official Home Assistant OS image, flashed with Raspberry Pi Imager just like Raspberry Pi OS.
Home Assistant can absorb your DIY sensors alongside commercial gadgets: Zigbee bulbs, robot vacuums, weather stations. Your Python scripts keep running for the custom jobs, while Home Assistant handles scheduling, the mobile app, and voice assistants. It is the natural “level two” of DIY home automation with Raspberry Pi.
Project 4: Motion-Activated Night Light
For a fourth project that teaches a new sensor type, wire a PIR motion sensor to a bright LED (or a relay controlling a lamp). A PIR sensor detects infrared movement and is the same technology inside commercial motion lights — except yours costs a few dollars and you control the logic.
Connect the PIR’s VCC to 5V, GND to ground, and OUT to GPIO 4. Connect an LED (with a 330-ohm resistor) to GPIO 17. Then run:
from gpiozero import MotionSensor, LED
from signal import pause

pir = MotionSensor(4)
lamp = LED(17)

pir.when_motion = lamp.on
pir.when_no_motion = lamp.off

print("Night light armed. Walk past the sensor to test.")
pause()
The when_motion / when_no_motion callbacks are gpiozero’s event-driven style — no polling loop needed. Two refinements make it genuinely useful: add a light-dependent resistor (LDR) so the lamp only triggers after dark, and add a timeout so the lamp stays on for two minutes after the last detected motion instead of flickering off the instant you stand still. Mount it in a hallway and you have a night light that rivals store-bought units, built from parts you already own.
Safety Rules for DIY Automation
- Respect mains voltage. Relay modules keep you isolated, but never wire mains plugs yourself unless you are qualified. Use pre-made remote sockets if in doubt.
- Water and electricity do not mix. Keep the Pi and relays away from the plant-watering plumbing; use drip trays.
- Start scripts with limits. The one-alert-per-30-minutes and one-watering-per-hour guards in the examples above are deliberate — runaway loops are the classic beginner failure.
- Back up your SD card. Before any big change, image the card with Raspberry Pi Imager’s backup option. A corrupted card should cost you ten minutes, not a weekend.
Frequently Asked Questions
Which Raspberry Pi should I buy for home automation?
A Pi 4 (2 GB) or Pi 5 handles everything in this guide easily. Avoid the Pi Zero for automation — its single core and Wi-Fi quirks make it frustrating as an always-on hub.
Do I need to know programming?
Basic Python helps, but the examples above are complete and explained line by line. You will pick up what you need by modifying them — change the temperature limit, change the watering duration, and you are programming.
Can I control everything from my phone?
Yes. The ntfy approach gives you alerts with zero setup. For full control dashboards, Home Assistant provides a polished mobile app once you are ready to go further.
Will this work if my internet goes down?
Everything except the phone alerts runs locally on the Pi, so lights and watering keep working without internet. That local-first reliability is the biggest advantage of DIY over cloud gadgets.
How much electricity does an always-on Pi use?
A Pi 4 idles around 3–5 watts — roughly $5–8 per year in electricity. It is one of the cheapest servers you can run.
Is it safe to leave a Pi running 24/7?
Yes, they are designed for it. Use the official power supply, keep it ventilated (a cheap case with a fan helps in hot climates), and use a quality SD card.
Key Takeaways
- A Raspberry Pi plus a relay module, a DHT22 sensor, and jumper wires is all you need to start.
- Python’s gpiozero library makes GPIO control beginner-friendly — no electronics degree required.
- Start with one automation (sunset lighting), then add temperature alerts and plant watering.
- Keep automations local-first so they work even when the internet is down.
- Respect mains voltage and water; use relay modules and test everything safely.
Conclusion
DIY home automation with Raspberry Pi proves you do not need expensive ecosystems or monthly subscriptions to make your home smarter. One small board, a handful of cheap sensors, and a few Python scripts give you sunset lighting, temperature alerts, and self-watering plants — all running privately in your own home.
Build one project this weekend and let it run for a week; reliability is the real thrill of automation. Then expand: add Home Assistant for a phone dashboard, or put your other Pi skills to work and build that retro gaming console next. Once you see your house responding to code you wrote, you will never look at a “smart” gadget the same way again.